
Trees
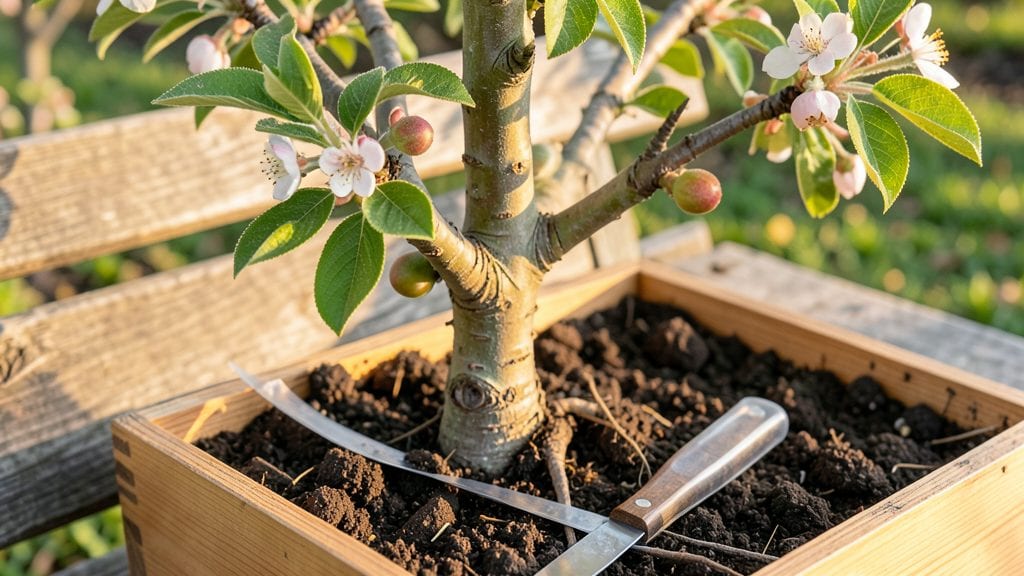
Grafting nectarine trees unlocks bigger, sweeter fruit and stronger trees—something I learned after my first grafted tree produced fruit twice as large as store-bought varieties. The process might sound intimidating, but with the right tools and a little practice, you can create disease-resistant trees that thrive for decades.
My first attempt looked messy, but that grafted nectarine is now the star of my backyard, proving patience pays off in fruit quality.
You’ll need sharp grafting tools, compatible rootstock, and a sunny day with temperatures between 50°F and 70°F—the sweet spot for success. Whip-and-tongue or cleft grafting work best for nectarines, and choosing a healthy rootstock (like peach or almond roots) ensures your tree grows strong.
I started with a simple whip-and-tongue graft on a peach rootstock, and within a year, the nectarine scion took hold beautifully.
The real magic happens after the graft heals: thicker branches, fewer pests, and fruit that tastes like summer in every bite. You’ll see new shoots forming in 4-6 weeks, and by next season, your tree will be loaded with juicy nectarines.
The key is keeping the graft moist and protected while it knits together—just like healing a small wound on a tree.
Even if your first graft doesn’t take, don’t give up. I failed three times before success, but each attempt taught me something new. The beauty of grafting is that you can experiment with different varieties on the same tree, creating a fruit bonanza.
Once you master it, you’ll never buy nectarines again—you’ll grow your own.
📚 In This Guide
- What you need
- Instructions
- Tips and common mistakes
- Wrapping up and next steps
What you need
- ● Rootstock: Healthy, disease-free nectarine or peach rootstock (1-3 years old). Choose a size that matches your desired tree height (e.g., dwarf, semi-dwarf, or standard).
- ● Scion wood: Young, dormant branches (6–8 inches long) from a nectarine tree of your preferred variety. Collect in late winter or early spring before buds swell.
- ● Grafting tape or parafilm: 1 roll (for sealing the graft).
- ● Pruning shears or grafting knife: Sharp and clean (sterilize with rubbing alcohol).
- ○ Pruning sealant (optional but recommended): A small bottle of wound dressing to protect the graft union.
- ● Grafting wax or clay: 1 small container (for sealing larger grafts).
- ● Grafting clips or rubber bands: 10–20 pieces (to secure the graft temporarily).
- ● Plastic bag or humidity dome: 1–2 (to create a mini greenhouse for the graft).
- ○ Grafting sleeves (optional): For whip-and-tongue grafts, improves success rates.
- ● Horticultural oil or spray: To sterilize tools between grafts.
- ● Notebook & pen: To label grafts by variety.
- ● Grafting bench or stable surface: Keeps tools organized and prevents slips.
- ○ Misting bottle (optional): To keep scions hydrated during the process.
Step-by-step instructions for grafting nectarine trees
Here's how I graft nectarine trees successfully—this method ensures strong rootstock and vigorous fruit production.
Select and Prepare Your Rootstock and Scion
Choose a healthy, disease-free nectarine rootstock that's about ½ inch in diameter at the grafting point. I always select rootstock that's dormant or just beginning to bud, usually in late winter or early spring. For the scion, pick a young, flexible shoot from a mature nectarine tree—it should be ¼ to ½ inch thick and about 6 to 8 inches long with 3 to 5 buds. Make sure the scion is from a variety you want to propagate.
Before cutting, sanitize your pruning shears with rubbing alcohol to prevent bacterial contamination. I like to work on a clean, flat surface like a cutting board to keep everything organized. Remove any leaves from the bottom 3 inches of the scion to reduce moisture loss and lower the risk of disease. The goal is to have a clean, sharp cut—no jagged edges that could damage the cambium layer, which is critical for successful grafting.
Make the Cuts for Whip-and-Tongue Grafting
Start by making a clean, slanted cut about 2 to 3 inches long on the rootstock, ending just above a bud. The angle should be roughly 30 degrees—this gives you more surface area for the scion to bond with. Next, make a matching cut on the bottom of the scion, ensuring the cambium layers (the green, growth-producing layer just under the bark) align perfectly when you join them.
Now for the tongue: take your grafting knife and make a small vertical cut about ½ inch deep into the rootstock, starting from the bottom of the slanted cut. Repeat on the scion, creating a "tongue" that will interlock when you join them. This tongue ensures stability and better contact between the cambium layers. Hold the pieces together and check that the cambium layers match up like puzzle pieces—this is the key to a strong graft.
Join the Rootstock and Scion Securely
Slide the scion into the rootstock so the tongues interlock, then align the cambium layers as closely as possible. The top of the scion should sit just above the top of the rootstock cut. Wrap the graft tightly with rafting tape or plastic grafting tape, starting just below the graft union and working upward. Leave a small gap at the top to allow for any swelling that might occur as the graft heals. I like to make two overlapping layers of tape to ensure a secure seal.
After taping, seal the entire graft with rafting wax or grafting compound to prevent moisture loss and infection. Apply a thin, even layer over the tape and the exposed cuts. This step is crucial—without sealing, the graft can dry out or become infected, which will kill it. Store the grafted tree in a cool, humid environment, like a plastic bag with a bit of damp paper towel, until you're ready to plant it.
Plant and Care for the Grafted Tree
Plant the grafted tree in well-draining soil, ensuring the graft union is 2 to 3 inches above the soil line. This prevents the rootstock from sending up new shoots, which can compete with the scion. Water deeply right after planting to settle the soil and remove any air pockets around the roots. Keep the soil consistently moist but not soggy for the first 4 to 6 weeks—this is when the graft is most vulnerable.
Once planted, protect the grafted tree from direct sunlight for the first week or two to reduce stress. I often use a shade cloth or place it in a partially shaded area. After that, gradually introduce it to full sun over 7 to 10 days. Avoid fertilizing for the first 6 weeks—the tree is still healing, and too much fertilizer can stress it out. Watch for signs of new growth from the scion, which should appear within 4 to 8 weeks. If the rootstock starts sending up shoots below the graft, prune them off immediately to ensure the scion takes over.
Tips & tricks for perfect nectarine tree grafting
A few key techniques will dramatically improve your success rate when grafting nectarine trees. These are the lessons I learned after several failed attempts before finally mastering the process.
Rootstock and Scion Selection: The quality of your rootstock and scion makes all the difference. Look for rootstock that's about half an inch in diameter with smooth bark and no signs of disease or damage. For the scion, flexibility is crucial—it should bend slightly without snapping. The scion should have 3 to 5 buds spaced evenly along its length, as each bud has the potential to grow into a new branch. I've found that scions from trees that produce fruit similar to what you want are most reliable.
Precision in Making Cuts: The 2 to 3-inch slanted cut on both rootstock and scion needs to be perfectly matched. Use a sharp grafting knife and make the cut in one smooth motion to avoid crushing the cambium layer. The 30-degree angle gives you more surface area for bonding, but it's the cambium alignment that truly matters. I've ruined several grafts by making uneven cuts—take your time here. The tongue cut should be about half an inch deep and should interlock like puzzle pieces when you join them.
Taping and Sealing Technique: When wrapping with grafting tape, start just below the graft union and work upward, leaving a small gap at the top. The tape should be snug but not so tight that it restricts growth. I like to make two overlapping layers for extra security. After taping, seal everything with grafting wax or compound—this prevents moisture loss and infection. Store your grafted tree in a cool, humid environment, like a plastic bag with damp paper towel, until you're ready to plant.
Post-Grafting Care: The first 6 weeks after planting are critical. Keep the soil consistently moist but not soggy, as too much water can cause rot. Protect the graft from direct sunlight for the first week or two, then gradually introduce full sun over 7 to 10 days. I've seen many grafts fail because the tree was stressed by too much sun too soon. Watch for new growth from the scion within 4 to 8 weeks—this is your sign that the graft has taken successfully.
Pro Tips for Grafting Nectarine Trees
- A few key techniques will dramatically improve your success rate when grafting nectarine trees.
- Rootstock and Scion Selection: The quality of your rootstock and scion makes all the difference.
- Precision in Making Cuts: The 2 to 3-inch slanted cut on both rootstock and scion needs to be perfectly matched.
Frequently asked questions
Got questions about grafting nectarine trees?
You’re not alone! Here are answers to the most common concerns—from timing to troubleshooting—to help you succeed.
When is the best time to graft nectarine trees?
The ideal window is late winter to early spring (just before buds swell) or mid-summer (when the tree is actively growing). Avoid grafting during extreme cold or heat. Pro tip: Dormant grafting (winter) reduces disease risk, while summer grafting lets you see scion compatibility faster!
What’s the easiest grafting method for beginners?
Start with whip-and-tongue grafting—it’s simple, reliable, and works well for nectarines. For thicker branches, try cleft grafting. Avoid bark grafting unless your rootstock is mature (2+ inches thick). Pro tip: Practice on scrap wood first to perfect your cuts!
Can I graft a nectarine onto a peach tree rootstock?
Yes! Nectarines and peaches are closely related, so compatibility is high. Just ensure the rootstock is healthy and disease-free. Watch out: Some peach varieties may affect nectarine flavor or cold hardiness. Research hybrid vigor if you’re unsure!
Why did my graft fail? Common signs and fixes.
Failed grafts often show as no new growth, blackened scions, or loose unions. Causes include: poor seal (use grafting tape/wax), incompatible varieties, or disease. Fix it: Re-graft in a clean environment and sterilize tools with rubbing alcohol.
Do I need to protect my graft after planting?
Wrap the graft union with grafting tape or rubber budding tape to prevent drying. Shield from direct sun for 2–3 weeks (use shade cloth if needed). Pro tip: Avoid plastic wrap—it traps moisture and can rot the scion!
Still stuck? Drop your question below—we’re happy to help you grow that perfect nectarine tree!
Wrapping up and next steps
Grafting nectarine trees is a rewarding way to boost fruit production and ensure healthier, more resilient orchards.
By following the right techniques—like selecting compatible rootstock, timing your graft perfectly, and keeping your tools clean—you’ll set the stage for success. Don’t let a few mistakes discourage you! Every expert started somewhere, and with patience, your grafted nectarine will thrive.
Ready to take the next step? Start small—practice on a few trees first, then expand your orchard as you gain confidence. Happy grafting! 🌱🍑