
How To
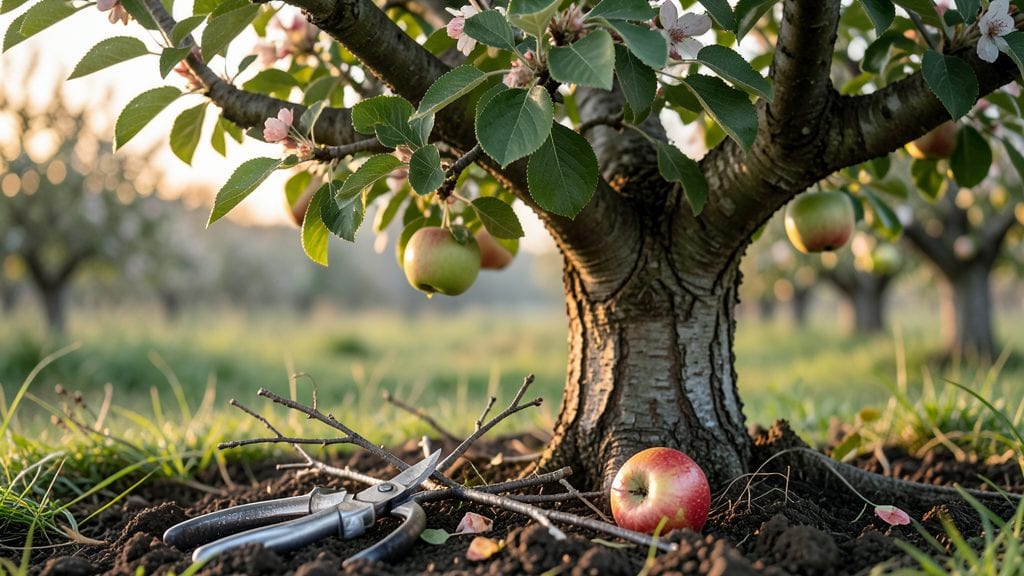
Pruning apple trees transforms a tangled mess into a fruit-loaded powerhouse—here’s how to do it right. 🌿 I’ve spent years watching trees go from scraggly to productive just by cutting back the right branches at the right time, and the difference in harvests is staggering.
The secret isn’t just snipping willy-nilly—it’s about opening up the center for sunlight, removing dead wood, and shaping the tree to maximize airflow. You’ll need sharp pruners, a ladder, and a clear plan, but the payoff is healthier branches, bigger fruit, and fewer pests by next season.
📚 In This Guide
- What you need
- Instructions
- Tips and common mistakes
- Wrapping up and next steps
What you need
- ● Pruning shears – Bypass pruners (for cuts up to ½ inch thick) or anvil pruners (for thicker branches). Choose sharp, high-quality shears to avoid crushing branches.
- ● Loppers – For branches ½ to 2 inches thick. Opt for bypass-style loppers for cleaner cuts.
- ● Pruning saw – For branches over 2 inches thick. A bow saw or folding pruning saw works best.
- ● Gloves – Heavy-duty gardening gloves to protect from thorns and rough bark.
- ● Disinfectant (70% rubbing alcohol or bleach solution) – To clean tools between cuts and prevent disease spread.
- ● Pole pruner – For high branches (extendable up to 10–12 feet).
- ● Ladder – A stable, extendable ladder (8–12 feet) for taller trees.
- ● Tree wound paint – Not always necessary, but can help seal larger cuts (controversial—some experts say it’s unnecessary for apple trees).
- ● Marking twine or flags – To tag branches for removal (helpful for complex pruning plans).
- ● Safety goggles – To shield eyes from debris or sap splatter.
- ● Check the weather—prune on a dry, overcast day (avoid pruning when the tree is wet or in extreme heat).
- ● Review your pruning plan—sketch a rough map of branches to remove or shape.
- ● Have a cleanup plan—gather a bucket or tarp to collect pruned branches and debris.
Step-by-Step instructions for pruning apple trees
Here’s the method I’ve used for years to keep apple trees thriving and productive.
✂️ Step 1: Identify and Remove Dead or Diseased Branches
Start by examining the tree for any branches that are completely dead, broken, or showing signs of disease—like fungal spots, cankers, or oozing sap. These are the first to go. Use sharp pruning shears to make clean cuts just outside the branch collar, the swollen area where the branch meets the trunk. This prevents damage to the tree’s healing tissue.
I always work from the bottom up, so I don’t accidentally drop tools or debris onto the branches I’ve already pruned. If a branch is larger than 2 inches in diameter, use a pruning saw for a smooth cut. Never leave stubs—this invites rot and weakens the tree. You’ll know you’ve done it right when the cut looks clean and the branch collar remains intact.
✂️ Step 2: Thin Out Crowded or Rubbing Branches
Next, look for branches that are growing too close together or rubbing against each other. These compete for sunlight and nutrients, and the friction can damage the bark. Remove the weaker of the two branches by cutting back to the branch collar. Aim to leave an open center in the tree—this allows air and light to circulate, reducing the risk of disease and encouraging stronger fruit production.
I like to step back every few cuts to visualize the tree’s shape. You’re not just pruning for aesthetics; you’re creating a structure that supports healthy growth. If you’re unsure which branch to remove, think about the tree’s natural growth pattern. The branch that grows more upright or has a stronger angle usually wins.
✂️ Step 3: Shape the Tree for Airflow and Light
Now focus on shaping the tree to maximize airflow and sunlight exposure. Start by removing any branches that grow inward or downward, as these block light and air from reaching the center. Cut these back to a healthy outward-facing branch or the branch collar. For larger branches, make the cut just outside the branch collar at a slight angle to prevent water from pooling.
Pay special attention to the tree’s main scaffold branches—the larger limbs that form the tree’s structure. These should be spaced evenly around the trunk, with no two branches growing directly opposite each other. This spacing prevents weight stress and makes it easier to harvest fruit later. If you’re working with a young tree, this is your chance to guide its shape early.
⏰ Step 4: Prune for Fruit Production (Seasonal Focus)
In late winter or early spring, before new growth begins, focus on pruning to encourage fruit production. Remove any branches that are producing small, poor-quality fruit or those that haven’t borne fruit in the last few years. These branches are essentially stealing energy from the tree. Cut them back to a strong, healthy branch or the branch collar.
Leave some fruiting spurs—short, stubby branches that produce clusters of fruit—especially on older wood. These are critical for a good harvest. If you’re pruning in summer, you can also thin out some of the fruit clusters themselves by removing small or misshapen apples. This ensures the tree puts its energy into growing larger, healthier fruit. You’ll see the difference in your harvest next season!
✂️ Step 5: Clean Up and Seal Cuts (If Needed)
After pruning, clean up any fallen branches and debris from the base of the tree. This reduces the risk of pests and diseases taking hold. If you’ve made large cuts—over 2 inches in diameter—you can seal them with a tree wound paint to protect the wood from decay. However, I’ve found that many experts recommend against sealing smaller cuts, as the tree’s natural healing process works best when left open to air.
Finally, sterilize your pruning tools with rubbing alcohol or a bleach solution to prevent spreading disease between cuts. Store them in a dry place until your next pruning session. A little maintenance now keeps your apple tree healthy and productive for years to come. You’ll love seeing those branches fill with blossoms and fruit come spring!
Tips & tricks for pruning apple trees
Pruning apple trees might seem intimidating, but these simple tricks will help you achieve a healthier, more productive tree with confidence.
The Branch Collar Rule: In Step 1, when removing dead or diseased branches, never cut flush with the trunk. Instead, cut just outside the branch collar—the swollen area where the branch meets the trunk. This is where the tree’s natural healing tissue lives, and cutting here prevents damage. I’ve seen too many trees develop rot because of improper cuts, so trust me on this!
Seasonal Pruning Strategy: For best results, focus on heavy pruning in late winter or early spring before new growth begins, as mentioned in Step 4. This timing allows the tree to heal and prepare for the growing season. However, you can do light pruning throughout the year to remove deadwood or diseased branches right away. Just avoid heavy pruning in late summer or fall, as this can stimulate new growth that won’t harden off before winter.
Visualizing the Tree’s Structure: In Step 2 and Step 3, take a step back every few cuts to visualize the tree’s shape. You’re not just pruning for looks—you’re creating a structure that supports healthy growth. Look for an open center that allows sunlight and air to reach the inner branches. This reduces the risk of disease and encourages fruit production. Think of it like creating an umbrella shape—wide at the top and open in the center.
Tool Maintenance: After pruning, always sterilize your tools with rubbing alcohol or a bleach solution, as mentioned in Step 5. This prevents spreading disease between cuts. I keep a small bottle of rubbing alcohol in my tool bag for quick sterilization between trees. Clean tools also last longer, so it’s a win-win!
Pro Tips for Prune Apple Tree
- Pruning apple trees might seem intimidating, but these simple tricks will help you achieve a healthier, more productive tree with confidence.
- The Branch Collar Rule: In Step 1, when removing dead or diseased branches, never cut flush with the trunk.
- Seasonal Pruning Strategy: For best results, focus on heavy pruning in late winter or early spring before new growth begins, as mentioned in Step 4.
Frequently asked questions
Got questions about pruning your apple tree? You’re not alone!
Here are answers to the most common concerns—from timing to tools—to help you prune like a pro.
When is the best time to prune an apple tree?
The ideal time is late winter or early spring (just before buds swell) for dormant pruning. Summer pruning (after harvest) can also work but focus on removing water sprouts or diseased branches. Avoid heavy pruning in fall—it stresses trees before winter.
Can I prune an apple tree in summer?
Yes! Light summer pruning is safe and even beneficial. Focus on:
- Removing water sprouts (fast-growing vertical shoots).
- Thinning out crowded branches to improve airflow.
- Trimming dead or diseased wood immediately.
Just avoid heavy cuts—save major pruning for winter.
What if I prune at the wrong time?
Pruning too late in spring (after blooms) risks reducing next year’s fruit set. Fall pruning can leave wounds vulnerable to pests/disease. If you must prune outside the ideal window, stick to light maintenance (removing deadwood) and avoid large cuts.
Do I need special tools to prune an apple tree?
Basic tools work for most jobs:
| Tool | Best For |
|---|---|
| Bypass pruners | Small branches (<½ inch thick). |
| Loppers | Medium branches (½–1½ inches). |
| Pruning saw | Thick branches (>1½ inches). |
For young trees, hand pruners suffice!
Will pruning hurt my apple tree’s fruit production?
No—proper pruning boosts fruit quality and quantity! By removing crowded branches, you improve sunlight and airflow, which:
- Enhances fruit size and sweetness.
- Reduces disease risk.
- Encourages stronger growth.
Just avoid over-pruning (never remove >25% of the canopy in one year).
Wrapping up and next steps
Pruning your apple tree isn’t just about trimming branches—it’s an investment in healthier growth, better fruit production, and a stronger tree for years to come. 🌳 By following seasonal guidelines, using the right tools, and focusing on open-center or central-leader shapes, you’ll set your tree up for success.
Now that you’re armed with the know-how, roll up your sleeves and get pruning! Ready for the next step? Monitor your tree’s progress and adjust your approach as it grows—happy pruning leads to sweet rewards! 🍏