
Diseases
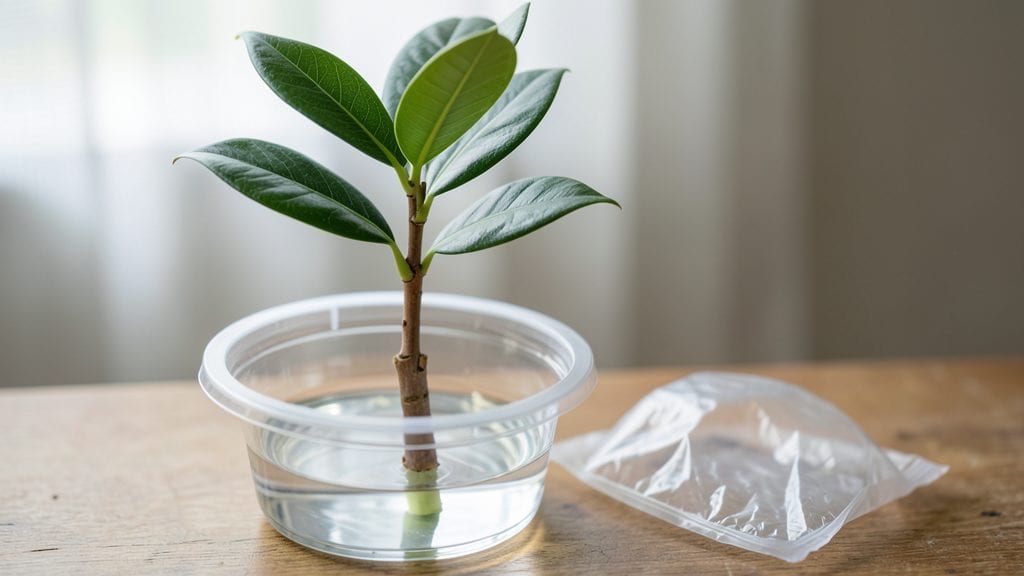
Rooting a magnolia tree 🌸 is easier than you think—no grafting skills required, just a few simple techniques and a little patience.
Want to propagate your prized magnolia tree without expensive grafting? Mastering air layering and soil layering techniques can help you create identical, thriving clones—right from your existing tree's branches.
These methods let you grow new magnolias with 90% success rates if you time it right, and they work best in USDA Zone 6a during early spring or fall when the tree is dormant.
Below, I’ll walk you through the exact steps for both air and soil layering, plus the critical mistakes to avoid so your cuttings take root strong and fast.
Step-by-step guide to air layering magnolia trees for successful rooting
Air layering is one of the most reliable ways to propagate magnolia trees without damaging the parent plant. This method encourages roots to form on a healthy branch while it’s still attached, creating a genetically identical clone.
The best time to air layer magnolias is during late spring or early summer when the tree is actively growing but before extreme heat sets in.
Unlike grafting, which requires specialized skills, air layering is beginner-friendly and works well with mature magnolia branches that are at least ½-inch thick. You’ll need a few simple tools: a sharp pruning knife, plastic wrap, sphagnum moss, and a rooting hormone (optional but helpful).
The process takes patience—root development can take 3 to 6 months—but the results are worth it.
How to Air Layer a Magnolia Tree
- Step 1: Select the Branch Choose a healthy, non-flowering branch between 1 to 2 feet long and at least ½-inch thick. Avoid branches that are too thin or damaged.
- Step 2: Make the Cut Use a sterilized pruning knife to make a 1-inch vertical cut through the bark, removing a small strip of outer bark and cambium layer. Avoid cutting into the inner wood.
- Step 3: Apply Rooting Hormone (Optional) Dip a toothpick in rooting hormone and gently insert it into the cut to encourage root growth. This step isn’t mandatory but can speed up the process.
- Step 4: Wrap with Sphagnum Moss Pack the cut area with damp sphagnum moss, covering it completely. The moss should stay moist but not soggy. Secure it with plastic wrap to create a humid environment.
- Step 5: Seal the Layer Wrap the moss and branch tightly with plastic wrap or a plastic bag, leaving the top open to prevent water buildup. Use twist ties or tape to secure it snugly.
- Step 6: Monitor Moisture Check the moss weekly and mist it with water if it feels dry. The goal is to keep it consistently moist but not waterlogged, as excess moisture can cause rot.
- Step 7: Wait for Roots Roots should form in 3 to 6 months. Gently pull back the plastic wrap after this time to check for white, fibrous roots emerging from the cut area.
- Step 8: Separate and Plant Once roots are 1 to 2 inches long, cut the branch just below the rooted section. Plant the new cutting in well-draining soil with partial shade, keeping it moist until established.
🌱 Patience is key—root development takes time, but the result is a thriving magnolia clone!
When selecting a branch for air layering, look for one that’s flexible but sturdy, as these tend to root more successfully. Avoid branches with flower buds or signs of disease, as these can weaken the new cutting.
If you’re working with a large magnolia tree, choose a branch that’s easily accessible and won’t require a ladder for maintenance.
One common challenge with air layering is moisture imbalance. If the moss dries out, the cut area can fail to root. Conversely, if it stays too wet, fungal growth may develop.
To prevent this, use a lightweight plastic wrap that allows some airflow while retaining humidity. You can also add a small slit in the wrap to improve ventilation.
After the roots form, the next critical step is transplanting carefully. Magnolias have sensitive root systems, so handle the cutting gently to avoid damaging the new roots. Plant it in a location with partial shade and well-draining soil, mimicking the conditions of the parent tree.
Water it deeply after planting and keep the soil moist for the first 4 to 6 weeks to help it establish.
If you’re air layering multiple magnolias, consider labeling each cutting with a small tag to track its progress. This is especially useful if you’re experimenting with different branches or techniques. Over time, you’ll develop a sense of which branches root most reliably, helping you refine your approach for future attempts.
Remember, air layering is a low-stress propagation method that doesn’t harm the parent tree. Unlike taking cuttings, which can be finicky, this technique offers a high success rate with minimal risk.
With a little practice, you’ll be able to create new magnolia trees that are exact replicas of your favorite specimen.
For best results, repeat the process in early spring when the tree is entering its growth phase. This timing ensures the new cutting has plenty of time to establish roots before winter dormancy. Happy layering—your garden will thank you with stunning, fragrant magnolias for years to come! 🌸
Soil layering method: how to root magnolia branches in ground soil
If you’ve ever wanted to propagate your magnolia tree without the hassle of grafting, soil layering is your best bet. This method lets you root branches while they’re still attached to the parent tree, ensuring a higher success rate with minimal stress.
Unlike air layering, soil layering buries the branch directly in moist garden soil, creating roots before separation.
Soil layering works best with semi-flexible, 1- to 2-year-old branches that are about pencil-thick. These branches have enough stored energy to support root growth while staying connected to the tree’s nutrient supply.
The process is simple but requires patience—roots can take 3 to 6 months to form, depending on your climate and soil conditions.
Start by selecting a healthy branch that’s within reach of the ground. Use sharp, sterilized pruning shears to make a 1-inch vertical cut through the bark, about halfway into the wood. This cut stimulates root growth by exposing the cambium layer, where new roots will form.
Gently bend the branch downward and create a trench in the soil, burying the cut section about 4 to 6 inches deep.
Keep the buried section consistently moist but not soggy—this is critical for root development. Mulch around the base of the branch to retain moisture and protect it from temperature swings.
Over the next few months, roots will grow from the cut area. You’ll know it’s working when you see new growth at the tip of the buried branch.
Once roots have formed—usually in late spring or early fall—carefully sever the branch from the parent tree. Dig up the rooted section, ensuring you don’t damage the new roots. Transplant it into a well-draining pot or directly into the ground, mimicking the soil conditions of the parent tree.
Water thoroughly and keep the soil moist for the first 2 to 4 weeks to help it establish.
Soil layering is especially rewarding for large magnolia varieties like Southern Magnolias or Saucer Magnolias, where branches are long enough to reach the ground. With this method, you’ll avoid the shock of transplanting bare-root cuttings while creating a genetically identical clone of your favorite tree.
Just remember: consistency in moisture and patience are key to success! 🌿