
Planting
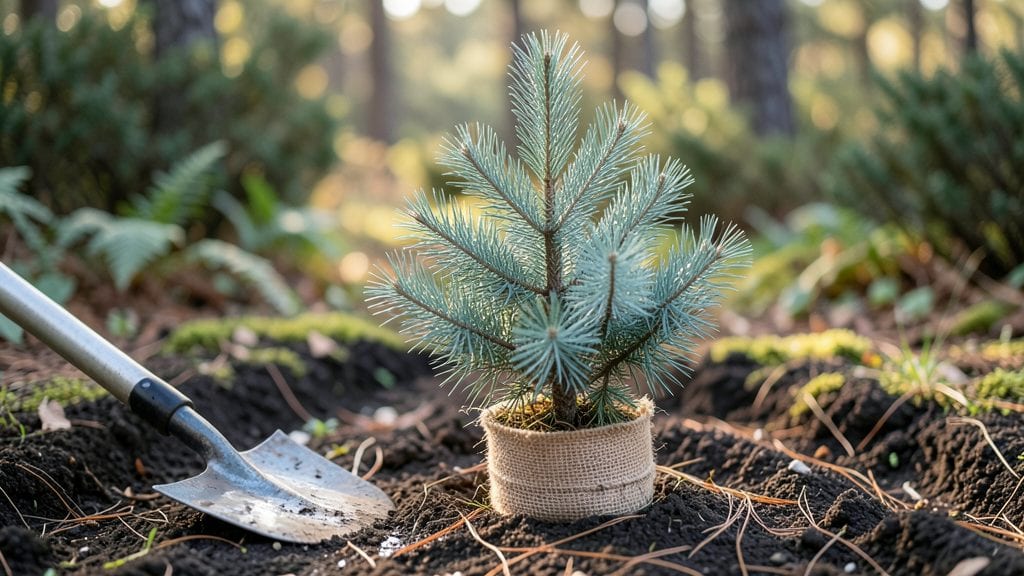
Transplanting evergreen trees during the right window means the difference between a thriving specimen and a sad, yellowing mess. 🌲 I’ve moved pines, spruces, and junipers myself—some took root beautifully, others struggled for years—and the timing always made the difference.
Evergreens hate being uprooted, but with the right season and prep, they bounce back stronger than ever.
The best time depends on your climate, but generally, late fall to early winter (after leaf drop but before hard frost) works best for most species. You’ll need sharp tools, a tarp for the roots, and plenty of water on hand—evergreens dry out fast once dug up.
The key is keeping those roots cool and moist the whole time; even a few hours of exposure can stress them out.
After planting, you’ll water deeply every few days for the first month, then taper off as roots establish. Mulch heavily to lock in moisture and protect roots from temperature swings.
Within a year, your tree should look like it was always there—full, green, and growing steadily. The first winter is critical, so don’t skip the winter watering in drier climates.
Different evergreens have different quirks—arborvitae hate soggy roots, while pines tolerate drought better. I’ll walk you through species-specific tips next, so you know exactly how to handle yours. Let’s get those trees settled in for good.
📚 In This Guide
- What you need
- Instructions
- Tips and common mistakes
- Wrapping up and next steps
What you need
- ● Shovel or spade: A heavy-duty digging spade (18–24" wide) or a transplanting spade for precision.
- ● Pruning shears or loppers: Bypass pruners (for small branches) or loppers (for thicker stems).
- ● Root stimulator: Powdered or liquid (e.g., Rootone) to encourage root growth.
- ● Burlap or tree sack: 100% natural fiber (avoid synthetic blends) to protect roots during transport.
- ● Wheelbarrow or dolly: For hauling soil and the tree safely.
- ● Hose with nozzle: For gentle watering before and after transplanting.
- ● Mulch: 3–4 inches of organic mulch (pine straw, wood chips) to retain moisture.
- ○ Stakes and twine: (Optional but helpful for young or top-heavy trees to prevent leaning).
- ● Soil amendments: Compost or peat moss to improve drainage in the new hole.
- ● Tree guard or barrier: To protect from pests or curious critters.
- ● Garden kneeler or pad: For comfort during digging.
- ● Measuring tape: To ensure the planting hole is 2–3x wider than the root ball.
- ● Gloves: Heavy-duty work gloves to protect your hands from rough bark and soil.
Instructions for transplanting evergreen trees
Here's my foolproof approach to moving evergreens with minimal shock and maximum survival.
🪴 Step 1: Choose the Right Time of Year
Transplant evergreens during their dormant season—either late fall or early spring—to minimize stress. I always aim for 6-8 weeks before the first hard frost in fall or just as new growth begins in spring. Avoid transplanting during extreme heat or cold, as temperature swings weaken roots.
Check your local frost dates and mark the window on your calendar. Evergreens need time to establish roots before winter sets in. If you must move one in summer, do it on a cool, overcast day and keep the root ball moist for the next 4-6 weeks.
🌿 Step 2: Dig the New Planting Hole
Dig a hole twice as wide as the root ball but no deeper than the container. Loosen the sides of the hole with a shovel to encourage root spread. Evergreens hate sitting in compacted soil, so I always break up any hardpan with my hands or a garden fork.
Test the soil by squeezing a handful—it should crumble easily when dry. If it feels tight or sticky, mix in 1-2 inches of compost into the bottom of the hole. This improves drainage and gives roots a nutrient boost right away.
💧 Step 3: Prepare the Tree for Moving
Water the tree 24 hours before transplanting to hydrate the root ball fully. If it’s in a container, lift it and check the roots—if they’re circling, gently tease them apart with your fingers. Evergreens hate root-bound stress, so this step is critical.
Cut the container or burlap wrap away from the root ball, leaving as much soil intact as possible. If the roots are exposed, wrap them in a damp burlap sack to keep them moist during transport. Move the tree quickly to its new spot to avoid wilting.
☀️ Step 4: Plant and Stake for Stability
Lower the tree into the hole, centering it so the top of the root ball sits 1-2 inches above ground level. Fill the hole with soil, tamping lightly every 2 inches to remove air pockets. Water deeply as you go to settle the soil.
Stake the tree only if it’s over 6 feet tall or in a windy location. Use two stakes on opposite sides and tie with soft fabric strips—never wire, which can girdle the trunk. Water thoroughly after planting to help roots settle into the new soil.
⏰ Step 5: Care for the First Critical Months
Keep the soil consistently moist but not soggy for the first 4-6 weeks. Mulch with 2-3 inches of organic mulch around the base, keeping it 6 inches away from the trunk to prevent rot. Water deeply once a week if rainfall is light.
Watch for signs of stress: yellowing needles or wilting branches mean the tree needs more water or shade. If you see this, move the tree to a shadier spot for a few days and water more frequently. With proper care, your evergreen will establish strong roots and thrive in its new home.
Tips & tricks for perfect evergreen transplanting
Moving evergreens successfully comes down to timing, soil prep, and post-planting care—here's how to avoid the most common mistakes.
Seasonal Timing Secret: The 6-8 week window before first frost in fall is ideal because it gives roots time to establish before winter dormancy. I check my local frost dates and mark the calendar—this is non-negotiable for survival. If you must transplant in summer, do it on a cool, overcast day to prevent heat stress, and keep the root ball moist for the full 4-6 weeks afterward.
Soil Prep Game-Changer: That 1-2 inches of compost in the bottom of the hole isn't just filler—it creates a nutrient-rich zone where new roots will grow most actively. I always test soil by squeezing it: if it feels tight or sticky, the compost helps break it up and improves drainage. For heavy clay soils, consider adding perlite to prevent waterlogging.
Root Ball Rescue Strategy: If you find circling roots in Step 3, don't just cut them—gently tease them apart with your fingers. I've seen trees with roots growing in perfect circles that never established properly. For container-grown trees, soak the entire container 24 hours before transplanting to ensure the root ball stays intact during removal.
Staking Wisdom: Only stake trees over 6 feet tall or in windy locations—otherwise, you risk girdling the trunk. I use soft fabric strips instead of wire because wire can cut into the bark as the tree grows. If you must stake, check the ties every few weeks to ensure they're not too tight as the trunk expands.
Pro Tips for Transplanting Evergreen Trees
- Moving evergreens successfully comes down to timing, soil prep, and post-planting care—here's how to avoid the most c...
- Seasonal Timing Secret: The 6-8 week window before first frost in fall is ideal because it gives roots time to establ...
- Soil Prep Game-Changer: That 1-2 inches of compost in the bottom of the hole isn't just filler—it creates a nutrient-...
Frequently asked questions
Got questions about transplanting evergreen trees? You’re not alone! Here are answers to the most common concerns—so you can tackle your project with confidence and care.
What’s the best time of year to transplant evergreen trees?
The ideal window is late fall to early spring (November–March), when trees are dormant. Avoid extreme heat or cold—spring is best for warm-climate evergreens (like pines or cedars), while fall works for cooler regions. Evergreens hate summer stress, so plan ahead!
Can I transplant an evergreen tree in summer? What are the risks?
Transplanting evergreens in summer is high-risk—they’re prone to heat stress, drought, and sunburn from exposed roots. If you must, do it on a cloudy day, keep the root ball moist, and provide shade cloth for 2–3 weeks. Pro tip: Wait until fall if possible!
How do I prepare an evergreen tree for transplanting to minimize shock?
Start 6–8 weeks before moving by:
- Watering deeply 2–3 times per week to encourage root growth.
- Pruning 1/3 of the foliage to reduce water loss.
- Avoid fertilizing 4–6 weeks beforehand—focus on hydration.
What’s the best way to move a large evergreen tree without killing it?
For trees over 10 feet tall, use the “tree spade” method to dig a clean root ball (2–3x wider than the trunk). Key steps:
- Dig a temporary trench around the tree to expose roots.
- Lift the root ball with a tarp or burlap to avoid root damage.
- Plant at the same depth as before—never deeper!
My evergreen looks sad after transplanting—what went wrong?
Don’t panic! Common issues and fixes:
Symptom
Likely Cause
Solution
Yellowing needles
Overwatering or poor drainage
Check soil moisture; amend with sand or gravel if needed.
Wilted or drooping branches
Root damage or transplant shock
Water deeply every 2–3 days for 4 weeks; avoid pruning.
Brown tips on needles
Windburn or salt buildup
Mulch heavily and water at the base (not overhead).
Wrapping up and next steps
Transplanting evergreen trees can feel like a big challenge, but with the right timing, tools, and care, you’ll give your greenery the best chance to thrive! 🌲 Whether you’re moving a young sapling or an established tree, spring and fall are your golden windows—just avoid harsh winters or scorching summers.
Remember: preparation is key, from root pruning to proper watering, and patience pays off as your tree adapts to its new home.
Ready to take the next step? Mark your calendar for the ideal season, gather your supplies, and dive in with confidence. Your evergreen’s future starts with you—happy planting! 🌱