
Planting
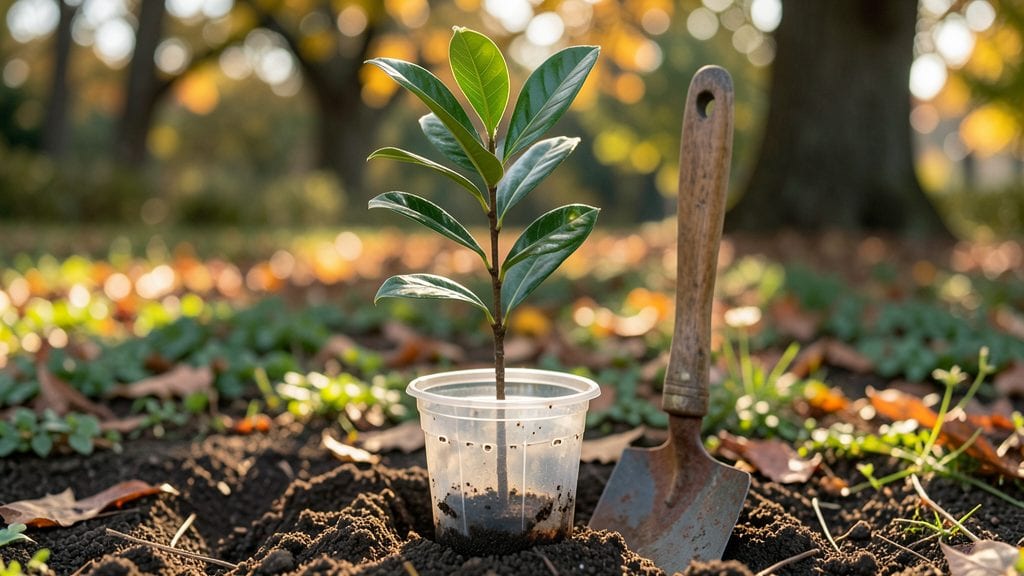
To plant magnolia tree seeds 🌸 successfully, you’ll need patience and the right conditions—this isn’t a quick process, but the payoff is a tree that can live for centuries.
Growing a magnolia tree from seed is a rewarding challenge that can yield a stunning, long-lived specimen—but only if you follow the right steps. Many gardeners struggle with germination and early growth, but these proven techniques will help you bypass common pitfalls and nurture stronger saplings from the start.
Magnolia seeds need a cold stratification period to break dormancy, which means they must spend 60-90 days in moist, chilled conditions before planting. Skipping this step often leads to slow or failed germination, so I’ll walk you through the exact method to mimic winter’s natural cycle.
Once you’ve cracked the germination code, the next 3 months are critical for establishing healthy roots and leaves. You’ll learn how to monitor soil moisture, light exposure, and even when to transplant—all while avoiding the three biggest mistakes that kill young magnolia seedlings.

Step-by-step guide to germinating magnolia tree seeds properly
Magnolia tree seeds are notoriously difficult to germinate because they require a precise combination of cold stratification, moisture control, and patience. Unlike many seeds, magnolias won’t sprout without mimicking their natural winter dormancy cycle.
If you’ve ever tried planting magnolia seeds only to see them rot or remain dormant, you’re not alone—but this step-by-step guide will change that. The key lies in breaking dormancy through cold treatment and maintaining ideal conditions during germination.
Before you begin, collect your seeds from ripe, healthy magnolia pods in late fall or early winter. Store them in a cool, dry place until you’re ready to stratify them. Fresh seeds have the highest success rate, but even stored seeds can germinate if treated correctly.
Remember, magnolia seeds can take 3 to 6 months to sprout, so consistency is critical. Let’s dive into the exact steps to maximize your chances of success.
How to Stratify and Plant Magnolia Seeds
- Step 1: Clean the seeds by removing any remaining pulp or debris. Rinse them gently under cool water and let them air-dry for 24 hours to prevent rot.
- Step 2: Mix equal parts sand and peat moss in a container. Keep the mix moist but not soggy—it should feel like a damp sponge.
- Step 3: Place the seeds 1 inch deep in the mix, spacing them 2 inches apart to allow room for root growth. Label the container with the date and seed type.
- Step 4: Seal the container in a plastic bag to retain moisture, then refrigerate it for 60 to 90 days at 40°F (4°C). This mimics winter conditions and breaks dormancy.
- Step 5: After stratification, transfer the container to a warm, bright location (65–75°F or 18–24°C). Place it under grow lights or in a sunny window to encourage germination.
- Step 6: Keep the soil consistently moist but avoid waterlogging. Use a spray bottle to mist the surface lightly every 3 to 4 days.
- Step 7: Germination can take 4 to 12 weeks. Once sprouts emerge, thin them to the strongest 2 or 3 seedlings per container to reduce competition.
- Step 8: When seedlings reach 4 to 6 inches tall and have 2 sets of true leaves, transplant them into individual pots with well-draining soil.
🌱 Pro Tip: Track your stratification timeline with a calendar—some magnolia varieties need longer cold treatment than others.
While refrigeration is the most common method for cold stratification, you can also use outdoor cold frames in winter climates. Simply bury the seed-filled container in a shady, protected spot and cover it with mulch or straw to insulate the soil.
This natural approach works well if your winters dip below 40°F (4°C) for at least 2 months. However, indoor stratification gives you more control over temperature and moisture, which is ideal for gardeners in warmer regions.
One of the biggest mistakes I see is overwatering during stratification. Magnolia seeds rot quickly if they sit in saturated soil. To prevent this, use a container with drainage holes and check moisture weekly.
Stick your finger 1 inch into the mix—if it feels damp but not wet, you’re on the right track. If it’s soggy, let it dry out slightly before resealing the bag. This balance is crucial for avoiding fungal diseases like damping-off, which can kill seedlings before they sprout.
Once your magnolia seeds finally break through the soil, you’ll notice tiny cotyledons (seed leaves) emerging first. These are followed by true leaves, which look more like miniature magnolia foliage. At this stage, increase light exposure gradually to prevent shock.
Place seedlings under bright, indirect light for the first 2 weeks, then transition them to morning sun as they grow stronger. Avoid direct afternoon sun, which can scorch delicate young leaves.
After transplanting into pots, use a well-draining potting mix combined with perlite or vermiculite to improve aeration. Magnolia seedlings are sensitive to compacted soil, so avoid heavy garden soil until they’re ready for outdoor planting.
Water at the base of the plant rather than overhead to keep leaves dry and reduce disease risk. A self-watering pot can help maintain consistent moisture without the guesswork.
Patience is the name of the game when germinating magnolia seeds. Some varieties, like Southern magnolias (Magnolia grandiflora), germinate faster than others, such as saucer magnolias (Magnolia soulangeana).
If you don’t see sprouts within 3 months, don’t give up—extend the stratification period by another 30 to 60 days before reassessing. With the right conditions, your magnolia seeds will reward you with vigorous saplings ready for their forever home in your garden.
🌿 Final Tip: Document your process with photos or notes. Tracking temperature, moisture, and germination dates helps you refine your technique for future attempts—and trust me, you’ll want to try again!
Critical care tips for magnolia seedlings: light, soil, and watering needs
Once your magnolia seedlings break through dormancy, their survival hinges on three critical factors: light exposure, soil quality, and watering consistency. Unlike mature magnolias that thrive in partial shade, young saplings need bright, indirect light to prevent leggy growth while avoiding scorching.
I’ve found that placing them near an east-facing window or under 50% shade cloth creates the perfect balance for their delicate leaves.
For soil composition, magnolias demand well-draining, acidic soil with a pH between 5.0 and 6.0. A mix of 50% peat moss, 30% perlite, and 20% compost works wonders for my seedlings.
This blend prevents root rot while mimicking their natural forest floor habitat. Always test your soil before planting—magnolias despise alkaline conditions, which stunt growth and invite fungal diseases.
The key-takeaway for nurturing magnolia seedlings lies in these three pillars:
🌱 Essential Seedling Care Checklist
When it comes to watering schedules, magnolia seedlings are finicky—they need consistent moisture but hate waterlogged roots. I water mine every 2-3 days in spring/summer, delivering 1-2 inches of water per session.
In winter, I reduce this to once weekly unless temperatures drop below 32°F. Always water at soil level (not overhead) to prevent fungal spores from splashing onto leaves.
Watch for early stress signals like yellowing leaves (often from overwatering) or crispy leaf edges (a sign of underwatering or low humidity). My seedlings also develop powdery mildew if airflow is poor—so I space them 6 inches apart and use a small fan on low setting to improve circulation.
A 2-inch layer of mulch around the base helps retain moisture while suppressing weeds, but avoid piling mulch against the trunk.
Finally, transplant shock is a real threat when moving seedlings outdoors. I harden them off by placing pots in partial shade for 1-2 weeks before their permanent move. Choose a cloudy day for transplanting, and water thoroughly afterward to reduce stress.
With these care tips, your magnolia seedlings will grow into vigorous, disease-resistant trees in just a few seasons.