
Propagation
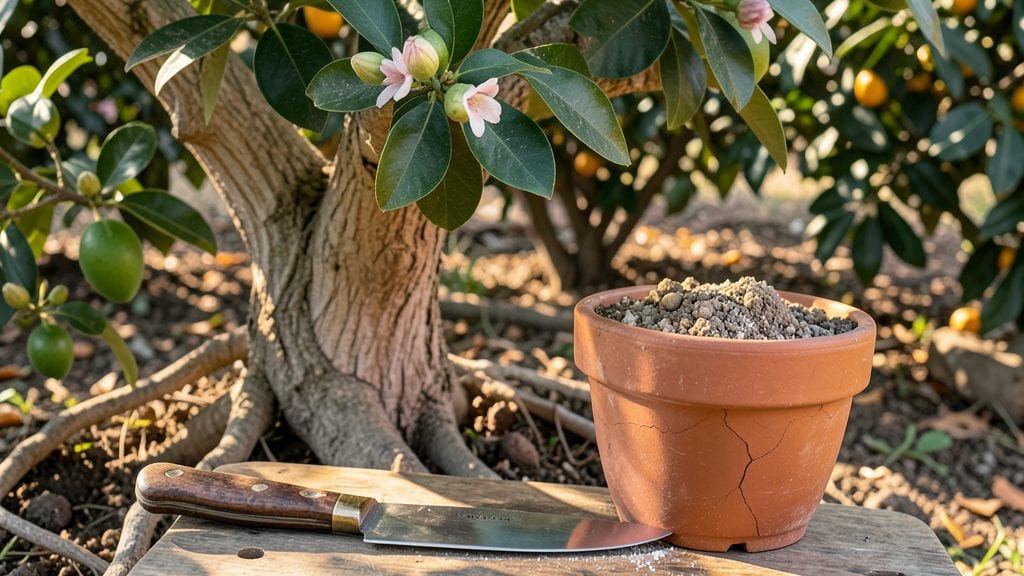
Propagating a mango tree using the water root method delivers fast results you can see in just 6-8 weeks—no green thumb required. I’ve rooted dozens of cuttings this way, and the secret lies in patience and a few key steps that bypass the usual trial-and-error.
The best part? You skip the years of waiting for seed-grown trees to fruit and get a mature-looking plant ready for transplanting.
The process starts with a healthy branch from your existing mango tree—6-12 inches long with at least two leaves—and a clean glass jar filled with water. Place it where it gets bright, indirect light, and change the water every 3-4 days to prevent bacteria.
Within weeks, you’ll spot tiny white roots forming, signaling success. This method works year-round in warm climates but is fastest when temperatures stay above 65°F.
Once roots reach 2-3 inches, it’s time to transition your cutting to soil. I’ve found a 50/50 mix of potting soil and perlite gives young mango trees the drainage they crave while keeping moisture consistent.
Keep the soil lightly damp for the first month, and you’ll soon have a sturdy young tree ready for its permanent home in the garden.
This technique isn’t just fast—it’s reliable for beginners and experienced gardeners alike. Whether you’re in Zone 10 or 11, the same principles apply, though container-grown trees may need winter protection in cooler areas.
The key is consistency: watch for yellowing leaves (a sign of overwatering) and adjust as needed. Ready to grow your own mango tree?
📚 In This Guide
- What you need
- Instructions
- Tips and common mistakes
- Wrapping up and next steps
What you need
- ● Mature mango tree branch: A healthy, semi-hardwood branch (about pencil-thick) with at least 3-4 leaf nodes. Look for branches that are flexible but not too green (avoid overly soft or woody ones).
- ● Sharp, sterilized pruning shears or knife: A clean cut is critical to prevent disease. Use a pair designed for cutting woody stems (e.g., Felco or similar).
- ● Clear plastic bottle (1-2 liters): A 1-2L plastic bottle with the bottom cut off (e.g., a soda bottle). The top should remain intact to act as a water reservoir.
- ● Water: Room-temperature, chlorine-free water (let tap water sit out for 24 hours if chlorinated). Avoid distilled water.
- ○ Rooting hormone (optional but recommended): A powdered or gel-based rooting hormone (e.g., Clonex or Dip 'N Grow) to boost root growth. Follow package instructions for application.
- ● Small pebbles or gravel: A handful of clean, smooth pebbles (e.g., aquarium gravel) to stabilize the cutting and prevent rot.
- ○ Plastic wrap or clear plastic bag: A small piece to create a humid environment around the cutting (optional but helpful in dry climates).
- ● Rubbing alcohol (70% or higher): For sterilizing tools before and after use.
- ● Newspaper or paper towels: To lay down and protect your workspace.
- ● Hydrogen peroxide (3% solution): To disinfect the cut end of the branch and prevent bacterial infections.
- ● Small fan or ventilation source: To gently circulate air around the cutting (prevents mold and encourages root growth).
- ● Grow lights or sunny windowsill: If propagating indoors, ensure your cutting gets 6-8 hours of indirect light daily.
- ● Notebook and pen: To track progress, water changes, and root development over time.
Step-by-Step instructions for propagating a mango tree using the layered water root method
This method delivers roots in just 4-6 weeks—far faster than traditional soil propagation.
Select and Prepare a Healthy Branch
Choose a non-flowering, semi-mature branch that’s about ½-inch thick and at least 2 feet long. Look for flexible stems with smooth bark—these indicate vigorous growth. I always pick branches from the outer canopy where light exposure is optimal.
Using sterilized pruning shears, make a 45-degree cut about 6 inches below a leaf node. This angled cut increases surface area for better water absorption. Immediately after cutting, dip the end in rooting hormone to stimulate cell division and prevent rot.
Create the Water Layering Setup
Fill a clean glass jar (like a mason jar) with room-temperature water—just enough to submerge 2-3 inches of the cut end. I use a jar with a wide mouth so the branch doesn’t wobble and disrupt root formation. Place the branch inside, ensuring the cut end sits below the waterline while the rest stays exposed.
Secure the branch in place with plastic wrap or rubber bands, leaving the top 6 inches above the jar’s rim. This keeps the cutting stable while allowing airflow to the leaves. Place the jar in bright, indirect light—direct sun will scorch the leaves before roots form.
Monitor Water and Encourage Root Growth
Change the water every 3-4 days to prevent bacterial growth. You’ll see tiny white root hairs appear within 7-10 days, followed by visible roots in 3-4 weeks. Keep the water level consistent—never let it drop below the cut end, or the roots will dry out.
Mist the leaves daily with a spray bottle to maintain humidity. If the leaves yellow or wilt, the branch is either overheated or underwatered. Adjust the light source or water level immediately—mango cuttings are sensitive to stress during this phase.
Transplant the Rooted Cutting
Once roots reach 2-3 inches long, it’s time to plant. Fill a 6-inch pot with well-draining potting mix (equal parts perlite and peat moss). Gently remove the cutting from the jar, shaking off excess water, then plant it 1 inch deeper than it was in the jar to stabilize the root system.
Water lightly but thoroughly, ensuring the soil is moist but not soggy. Place the pot in partial shade for the first 2 weeks to reduce transplant shock. After that, gradually introduce morning sun to harden the new plant.
Maintain and Grow Your New Tree
Keep the soil evenly moist but never waterlogged—mango roots rot quickly in saturated conditions. Fertilize monthly with a balanced 10-10-10 formula once new growth appears. Prune any yellowing leaves to redirect energy to root and stem development.
After 3-4 months, your cutting will be ready for an 8-inch pot or direct outdoor planting in USDA Zones 10-11. If you’re in a cooler climate, overwinter it indoors near a south-facing window with supplemental grow lights to maintain growth.
Tips & tricks for perfect mango tree propagation
This layered water root method isn't just effective—it's the fastest way to grow a mango tree from cuttings. Here's what I've learned after propagating dozens of successful cuttings that deliver roots in just 4-6 weeks.
Branch Selection is Everything: In Step 1, focus on branches that are flexible but not brittle—this indicates ideal maturity. I've found that branches from the outer canopy, exposed to morning sun, produce the most vigorous roots. Avoid branches with bumps or rough bark, as these often indicate disease or pest damage that can compromise root development.
The 45-Degree Cut Makes All the Difference: When making your cut in Step 1, the 45-degree angle isn't just for aesthetics—it increases surface area by about 40% for better water absorption. Use sterilized pruning shears to prevent bacterial contamination, and always cut just below a leaf node where new growth originates. The rooting hormone application immediately after cutting is critical; it stimulates cell division that would normally take weeks to occur naturally.
Water Management is Non-Negotiable: The 3-4 day water change schedule in Step 3 prevents bacterial growth that can rot your cuttings before roots form. I've seen cuttings fail within days when left in stagnant water. Use room-temperature water—cold water can shock the cells, while warm water promotes bacterial growth. The 2-3 inch submersion level is perfect; any deeper can lead to rot, while less may not provide enough moisture for root initiation.
Transplanting Timing is Critical: Wait until roots reach 2-3 inches before transplanting in Step 4—this ensures the root system is strong enough to support new growth. When planting deeper by 1 inch, you're creating additional stability while maintaining the natural growth pattern. The partial shade requirement for the first 2 weeks is crucial; direct sunlight at this stage can cause transplant shock that sets back growth by weeks.
Pro Tips for Propagate A Mango Tree
- This layered water root method isn't just effective—it's the fastest way to grow a mango tree from cuttings.
- Branch Selection is Everything: In Step 1, focus on branches that are flexible but not brittle—this indicates ideal maturity.
- The 45-Degree Cut Makes All the Difference: When making your cut in Step 1, the 45-degree angle isn't just for aesthetics—it increases surface area by about 40% for better water absorption.
Frequently asked questions
Got questions about propagating your mango tree?
Here are answers to the most common ones to help you grow with confidence!
When is the best time to propagate a mango tree?
The ideal time is during the active growing season—typically spring or early summer (March to June in most tropical/subtropical climates). Avoid winter when growth slows, as roots may struggle to establish. If you're in a warmer region, aim for before the rainy season to give roots a hydration boost!
How long does it take for a mango tree to root from propagation?
With the water rooting method, you’ll usually see roots in 4–8 weeks, but full transplant readiness can take 3–6 months. Patience is key—small, white roots peeking from the nodes mean success! If no roots appear after 2 months, check your water (should be room temp, changed weekly) and light (bright, indirect).
Can I use tap water for rooting my mango cutting?
Tap water is fine for short-term use, but for faster, healthier roots, opt for filtered, rainwater, or distilled water. Tap water’s chlorine/fluoride can stress cuttings. If you must use tap water, let it sit 24 hours before using to allow chemicals to dissipate. Change the water every 3–5 days to prevent bacteria buildup.
What if my mango cutting turns yellow or mushy?
Yellowing or mushy stems signal rot or bacterial infection, often from overwatering, poor airflow, or dirty water. Act fast:
If the damage is severe, start fresh with a healthy cutting!
Can I propagate a mango tree from seed instead of cuttings?
Yes! But expect slower, less predictable results. Seed-grown mangoes may take 5–10 years to fruit (vs. 2–3 years from cuttings) and often won’t match the parent tree’s quality. For propagation, cuttings are your best bet for faster, true-to-type trees. If you’re curious, try seed propagation for fun—just plant the pit 1 inch deep in moist soil and keep it warm!
Wrapping up and next steps
Propagating a mango tree using the layered water root method is a rewarding way to grow your own fruit-bearing tree!
With patience, the right tools, and a little care, you’ll soon have a thriving sapling ready to flourish. Now that you’ve mastered the technique, why not share your newfound skills? Try propagating a few more trees or gift a cutting to a fellow gardening enthusiast—your green thumb is about to inspire others! 🌱
For even better results, keep experimenting with different mango varieties or explore other propagation methods like air layering. Happy growing!